

PG cable glands: compatibility and BOM checklist
Set gland size against cable outer diameter side by side, verify thread size, cable clamping range and sealing requirement, then confirm the metal box on the BOM.
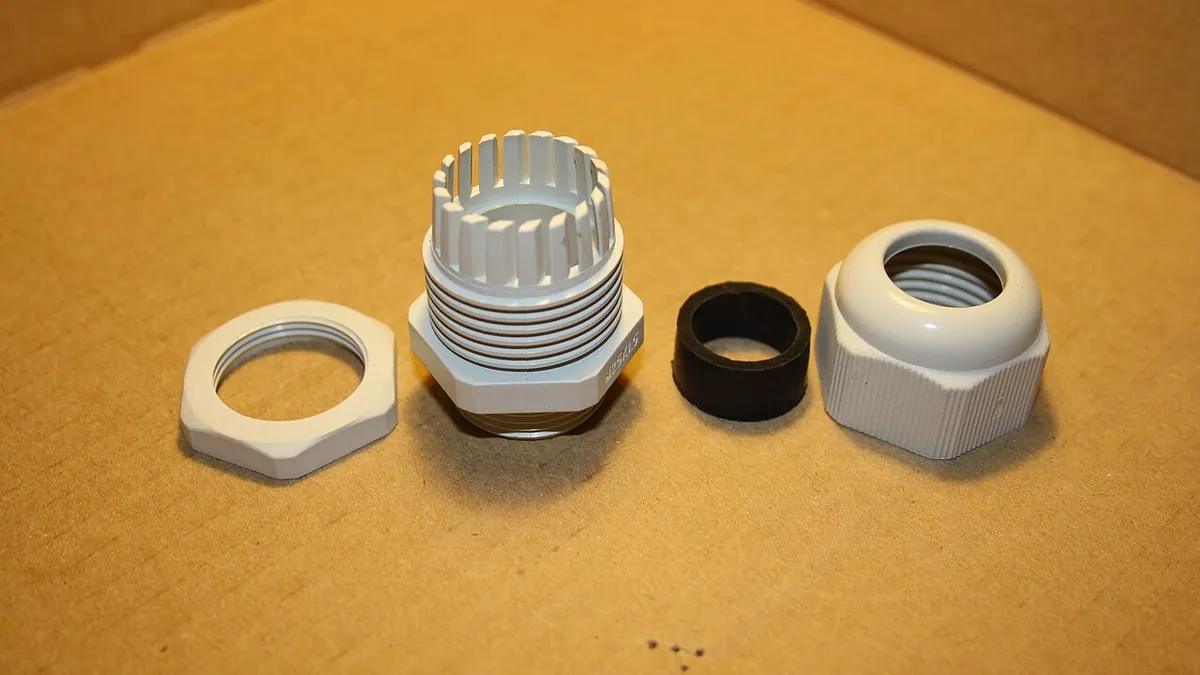

Use this checklist when selecting parts for a cable exit from an enclosure, with particular attention to PG cable glands. It keeps a sample, approved BOM and repeat order aligned. A PG gland has a panel-side thread and a separate cable-clamping range. One size label does not establish both fits.
Step 1: Freeze the application
State what a cable exit from an enclosure must achieve, including load, space, mounting, environment and maintenance. Identify who will approve the design. A PG gland has a panel-side thread and a separate cable-clamping range. One size label does not establish both fits. A clear application brief prevents the quote from being driven by an attractive photograph or a single headline figure.
Step 2: Collect exact model data
For each candidate, collect the full maker model, product revision and the current datasheet or drawing. Extract thread size, cable clamping range and sealing requirement; include units and test conditions where applicable. Keep the source next to the line item. If a required detail is absent, mark the item 'needs clarification' rather than approving it by assumption.
Specification check at a glance
- Compare gland size against cable outer diameter in the same application.
- Thread size: record the exact model-specific detail and its source; include a unit, drawing or test condition where that field needs one.
- Cable clamping range: record the exact model-specific detail and its source; include a unit, drawing or test condition where that field needs one.
- Sealing requirement: record the exact model-specific detail and its source; include a unit, drawing or test condition where that field needs one.
- Confirm the metal box and the exact mating or mounting details.
Step 3: Map interfaces
Draw the connection between PG cable glands, the metal box and neighbouring parts. Record mating halves, orientation, leads, fasteners, protective elements and service access. Measure the actual jacket outside diameter, panel opening and available tightening space; confirm any sealing requirement from the maker. Confirm that any accessory pictured online is actually in the quoted supply.
Step 4: Compare candidate parts
Compare gland size against cable outer diameter with the same criteria and the same revision of the application brief. Note fit, documentation, availability and any change to other BOM lines. Material identity, thickness, cut geometry and environment matter more than a generic product name. Ask for the technical document and a dimensioned drawing where a part acts as an electrical barrier, conductor or mounting element. A different headline price may conceal additional connector, tooling or enclosure work.
Step 5: Inspect a sample
When a sample arrives, match the marked part and supplied accessories to the approved model. Inspect dimensions and fit against the drawing without energising an unreviewed assembly. Log deviations and obtain technical approval before using the sample to define a repeat purchase.
Step 6: Release the BOM
Avoid assuming thread size tells you the cable gripping range. Freeze the accepted model, quantity, unit and substitute rule in a revisioned BOM. Attach the maker document and drawing reference. Any later change to chemistry, material, termination or form factor should reopen the affected design checks.
Review questions
- Which exact manufacturer model, document revision and Buyer World SKU identify the candidate?
- What evidence confirms thread size, cable clamping range and sealing requirement for the quoted model?
- Does the quote include metal box, or must it be listed as a separate BOM line?
- What drawing or mating-part reference supports fit in a cable exit from an enclosure?
- Who will review any substitution before the first sample and the repeat order?
Before production
Browse the linked Buyer World product cards for candidates and current availability, then close the open evidence items with the manufacturer and project reviewer. A complete checklist helps purchasing follow a sound engineering decision; it does not replace one.
Products to compare
These are starting points. Confirm the exact model, ratings and mating parts against your project requirements.
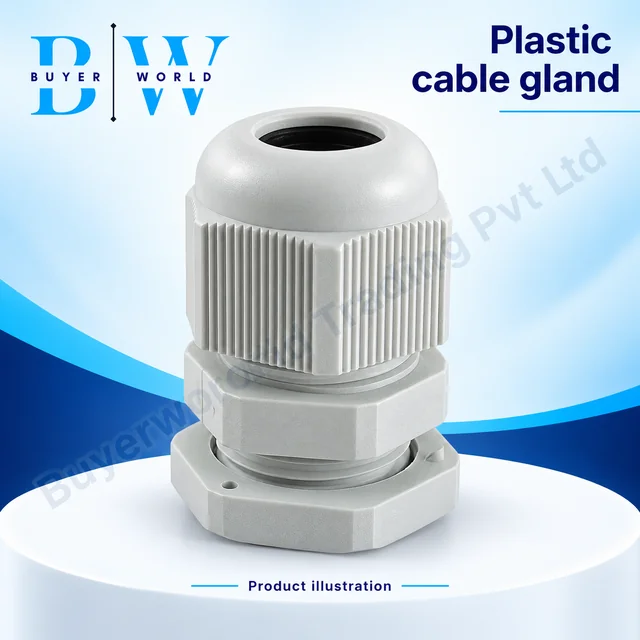
PG-11 Grey — Plastic Gland. Sold by Buyer World in piece units; minimum order 200. Match the model, dimensions and electrical ratings to your application before ordering.
View full specifications & documents →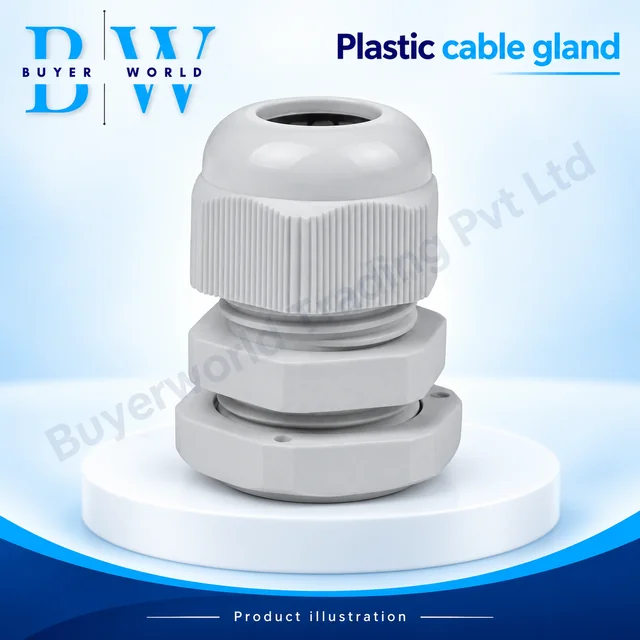
PG-13.5 Grey — Plastic Gland. Sold by Buyer World in piece units; minimum order 100. Match the model, dimensions and electrical ratings to your application before ordering.
View full specifications & documents →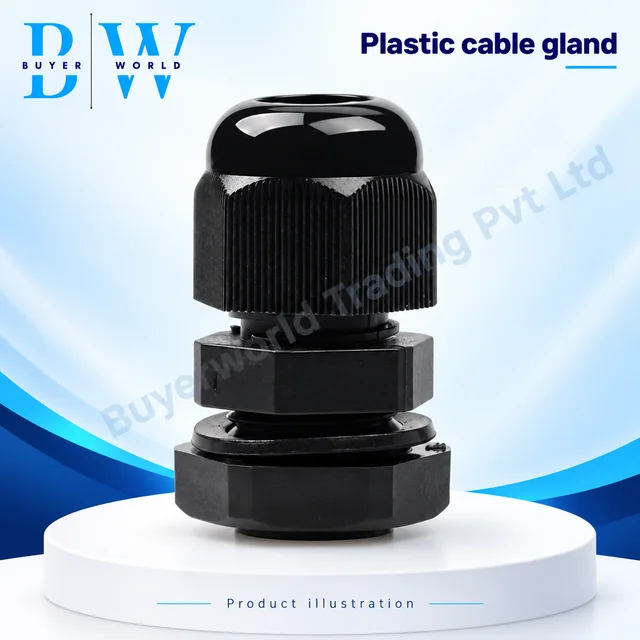
PG-7 Black — Plastic Gland. Sold by Buyer World in piece units; minimum order 200. Match the model, dimensions and electrical ratings to your application before ordering.
View full specifications & documents →